Field notes · all posts
How to listen to air traffic control yourself
When I tell people about this project, the question I've gotten most often isn't about the music. It's "how do you even listen to air traffic control?" It turns out to be a lot easier than I expected, and you can start tonight for free. We'll look at three different ways you can get started: a phone app, a standalone device, and the rig that I used to record all of the albums, with the full parts list if you want to take this on yourself!
A quick note we get started: I'm not a radio expert and I learned most of this in about two weeks, with a lot of help from Claude and a couple of forum threads. All to say, don't be intimidated and let's jump in!
Level one: your phone or computer, tonight, for free
LiveATC.net is a great place to start because it has volunteer-run feeds that let you listen to hundreds of airports, and there's also an app if you're of a phone person.
Pick an airport, select the Tower frequency, and you'll be listening to the real thing with a just few seconds of delay. Silence is normal: controllers only talk when there's something to say, so if you're listening in the middle of the night it's going to be pretty quiet.
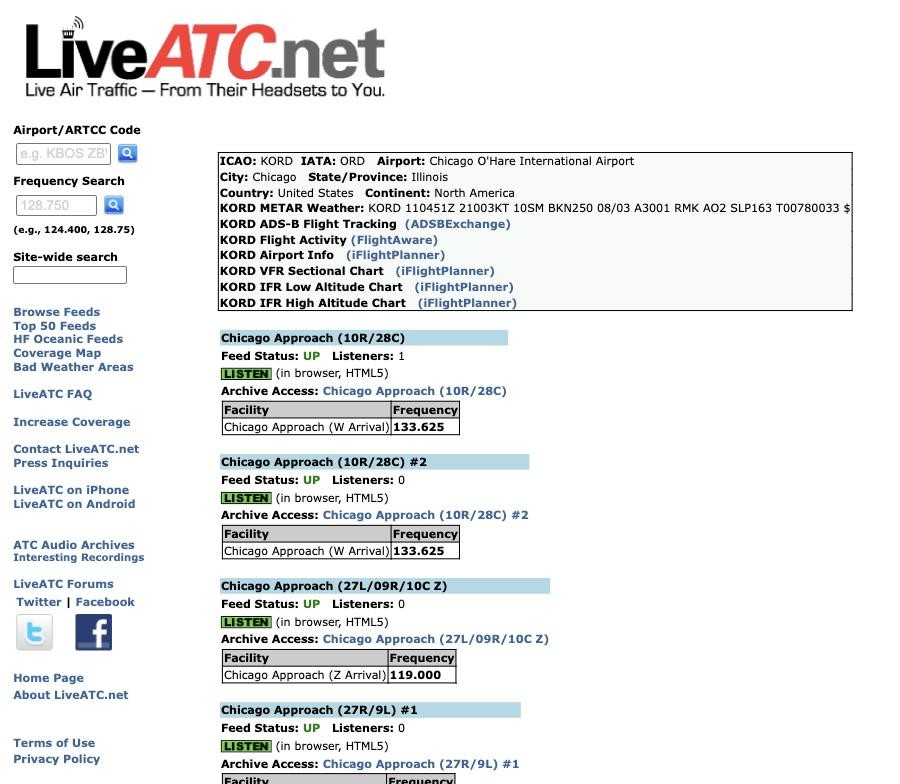
If you want constant chatter, pick a big airport's Tower or Approach feed in the late afternoon, which is when the world shows up. (If it's the middle of the night where you are, check a time zone chart for where there might be some interesting traffic happening).
This is how I listened for years, and it's still what I'd recommend to most people getting started. There are some limitations on how you can use these feeds, which is why I needed something more complicated for my project (and why the original lofiatc.com went down).
Level two: a handheld scanner, about $100
If you want to listen in from in and around the airport, you want a handheld. The one that I kept seeing come up over and over is the Uniden BC125AT, a receive-only scanner that covers the airband (the frequencies that air traffic control uses) and runs on AA batteries, coming in at around $110.
Either way, you'll probably want a better antenna than what comes with the radio. The Bingfu magnetic-mount antenna I use in the full rig below ($16) screws straight onto a scanner, and you'll hear a lot more. What a handheld won't do is record, which is the whole reason I went one step further.
Level three: the full rig that I use to record
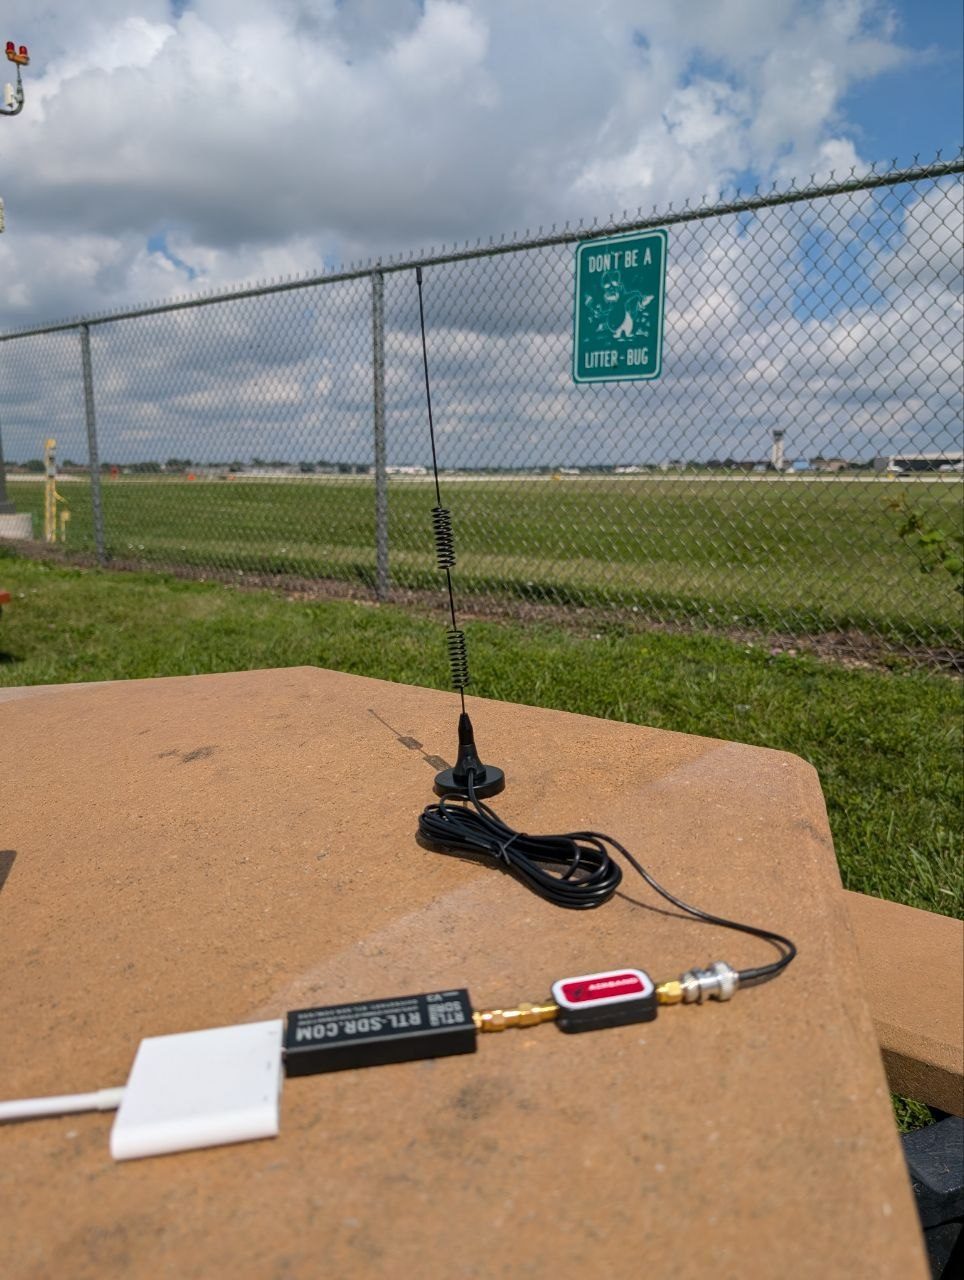
Here's the chain in the order the signal travels, with what I paid in August:
- Antenna: Bingfu 20–1300 MHz magnetic-mount scanner antenna, $16. It sticks to the roof of the car, and the roof is part of the antenna. If you're not in a car, a steel baking sheet placed underneath it does the same job.
- Adapter: BNC-female to SMA-male, $5. The antenna's plug and the filter's socket don't match, and this is the only thing that fixes that.
- Filter: GPIO Labs airband bandpass filter, $42. Around a big airport, other radio frequencies are so loud they drown out the airport itself. The filter only lets the airband through. Especially near O'Hare this was not optional.
- Radio: an RTL-SDR dongle, which is a USB stick that turns a slice of the radio spectrum into data your laptop can decode. I use the v3. The current one is the V4 (the "Lite" version is $38 from the RTL-SDR Blog store, $48 with an antenna kit, and stock comes and goes).
- A laptop and a USB cable. This is where the entire chain plugs in so that your software can record.
- Software: SDR++, free, on Mac, Windows and Linux.
All in, you're looking at about $100 in parts plus the dongle. My first attempt was a handheld ham antenna propped on the trunk, and the first thing I learned was that the antenna is one of the most important pieces. The $21 of antenna and adapter did more than everything else combined. With this new antenna, I was able even to listen to the traffic from a rooftop 14 miles away from the airport!
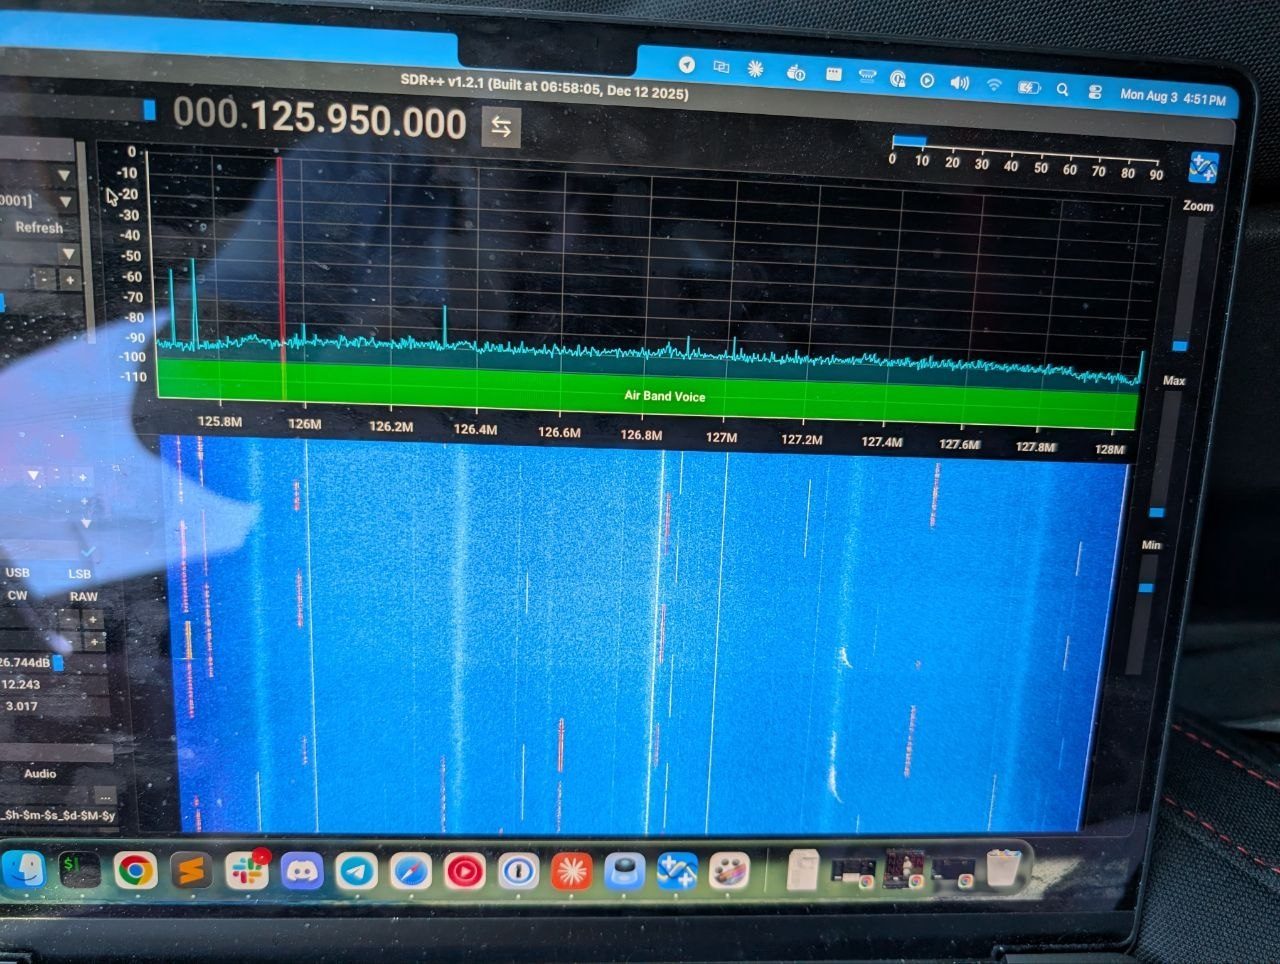
Setting up SDR++ (with the five settings that matter)
- Mode: AM. Aviation voice is AM, like the old car radio dial. Leave it on FM and you'll hear garbage and assume the rig is broken.
- Bandwidth: about 8 kHz. Narrow enough to cut the hiss, wide enough for a voice.
- Gain: manual, not automatic. Turn the automatic gain off, bring the gain up until the loudest airplane you hear is almost clipping, and leave it alone. Automatic gain pumps up and down with every transmission, and that pumping bakes into the recording.
- Check the audio output. I lost ten minutes at Chicago Executive because SDR++ was sending its output to a speaker that wasn't connected to my computer.
- Run two recordings at once. SDR++ has a recorder module and you can add a second one. I run one on Audio and one on Baseband. The audio recorder saves the one frequency you're listening to as a WAV. The baseband recorder saves the whole slice of spectrum on screen, every frequency at once, at about 0.6 GB a minute, which is how we split forty channels out of one afternoon later. Think of baseband as the negatives and audio as the photograph.
Finding the frequencies
Every US airport's frequencies are public. The official source is the FAA's Chart Supplement, and AirNav shows the same data on one page per airport (search the four-letter code, like KMDW). You'll see Tower, Ground, Clearance Delivery, Approach, Departure and ATIS. Two things that took me a while to understand:
- ATIS is the automated weather loop that is always broadcasting. Tune to this frequency first as a test. If you can hear it, then your whole chain of hardware works.
- Radio is line of sight. The tower's transmitter is on the airport, so from anywhere near the field you hear both the controller and the pilot. Approach and Departure controllers sit in a building miles away, so from the parking lot you often hear only the pilots' half of the conversation. The tower and ground frequencies are where the actual back-and-forth is.
Where to go
At any particular airport, the wind decides which runways are in use, which decides where you should be standing. Tune your radio to the ATIS on the way and listen which runways are in use to give you a better idea. Then for where you can actually set up, it depends on the airport:
- Official viewing areas. Chicago Executive has one of these, with a parking lot and a sign full of rules. Real people go there to eat lunch and watch planes, which I think is pretty cool.
- Cell phone lots. These are free, generally close to the airport, and on the right day the arrivals come in over your head.
- The top floor of a parking garage, facing the tower. This is where I parked up at Midway and it only cost two dollars. You also get the advantage of height here, which gives you better line of sight.
The legal stuff
Make sure you're in an area where you're not trespassing and be respectful of your surroundings. If someone asks what the antenna is for, just tell them! They might just be interested, but if they're airport officials or police and ask you to leave, it's time to pack up and go.
In the US, listening to air traffic control is legal. It isn't encrypted, it's transmitted over the air and people have done it almost since the invention of ATC itself. Elsewhere it varies a lot: in the UK the scanners are legal to buy but listening to ATC on one is technically an offense, so always check your local regulations before you record.
If you do this
Send me what you hear! I'd love to know what your home airport sounds like, and I'm happy to answer anything about the rig or what I'd do differently. You can reach me at [email protected].